Sorry, updates have been very delayed and lacking. I’ve also not taken too many photos. I think after a while its just a lot of little details and the Kayak didn’t look too different.
For this post we’ll talk about mounting the tankwell and cockpit. A few things had to be done before that happened.
I decided to use Maroske fittings as I love the slick look. I also wanted to minimize the plastic fittings I attached. So plastic handles, and fittings are out.
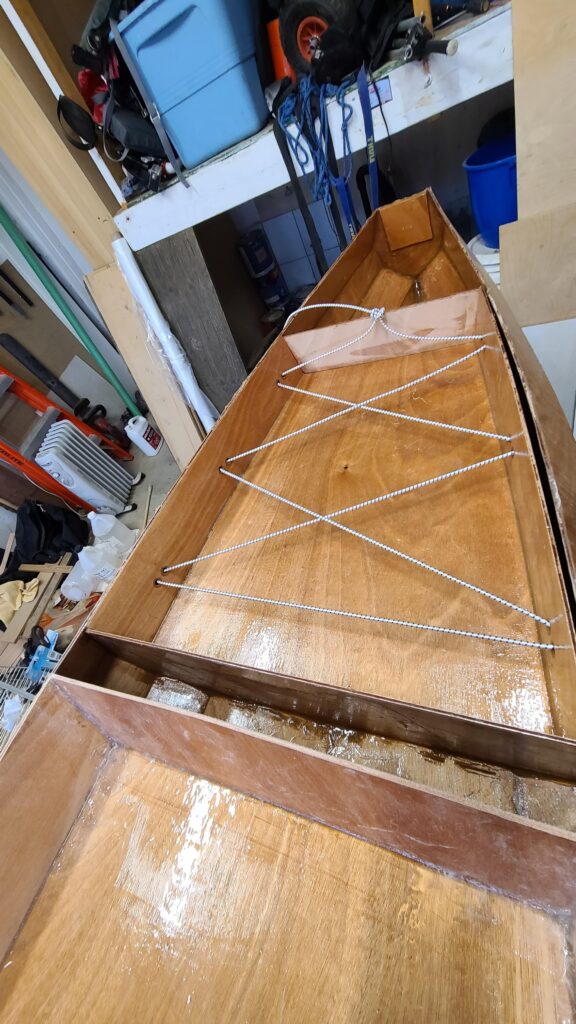
I went with Maroske fittings in the tankwell in a pretty standard pattern to hold whatever you might need back there.

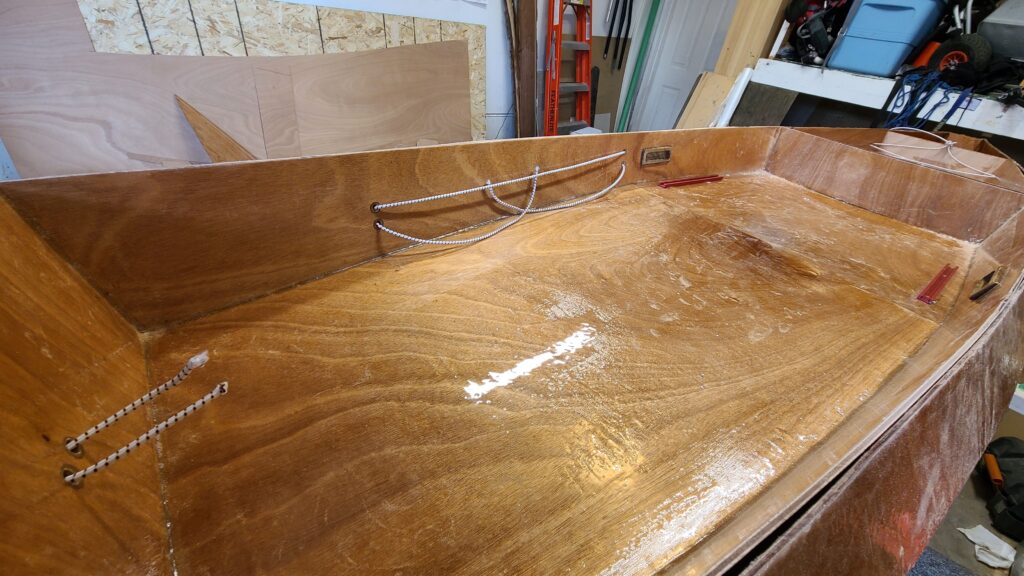
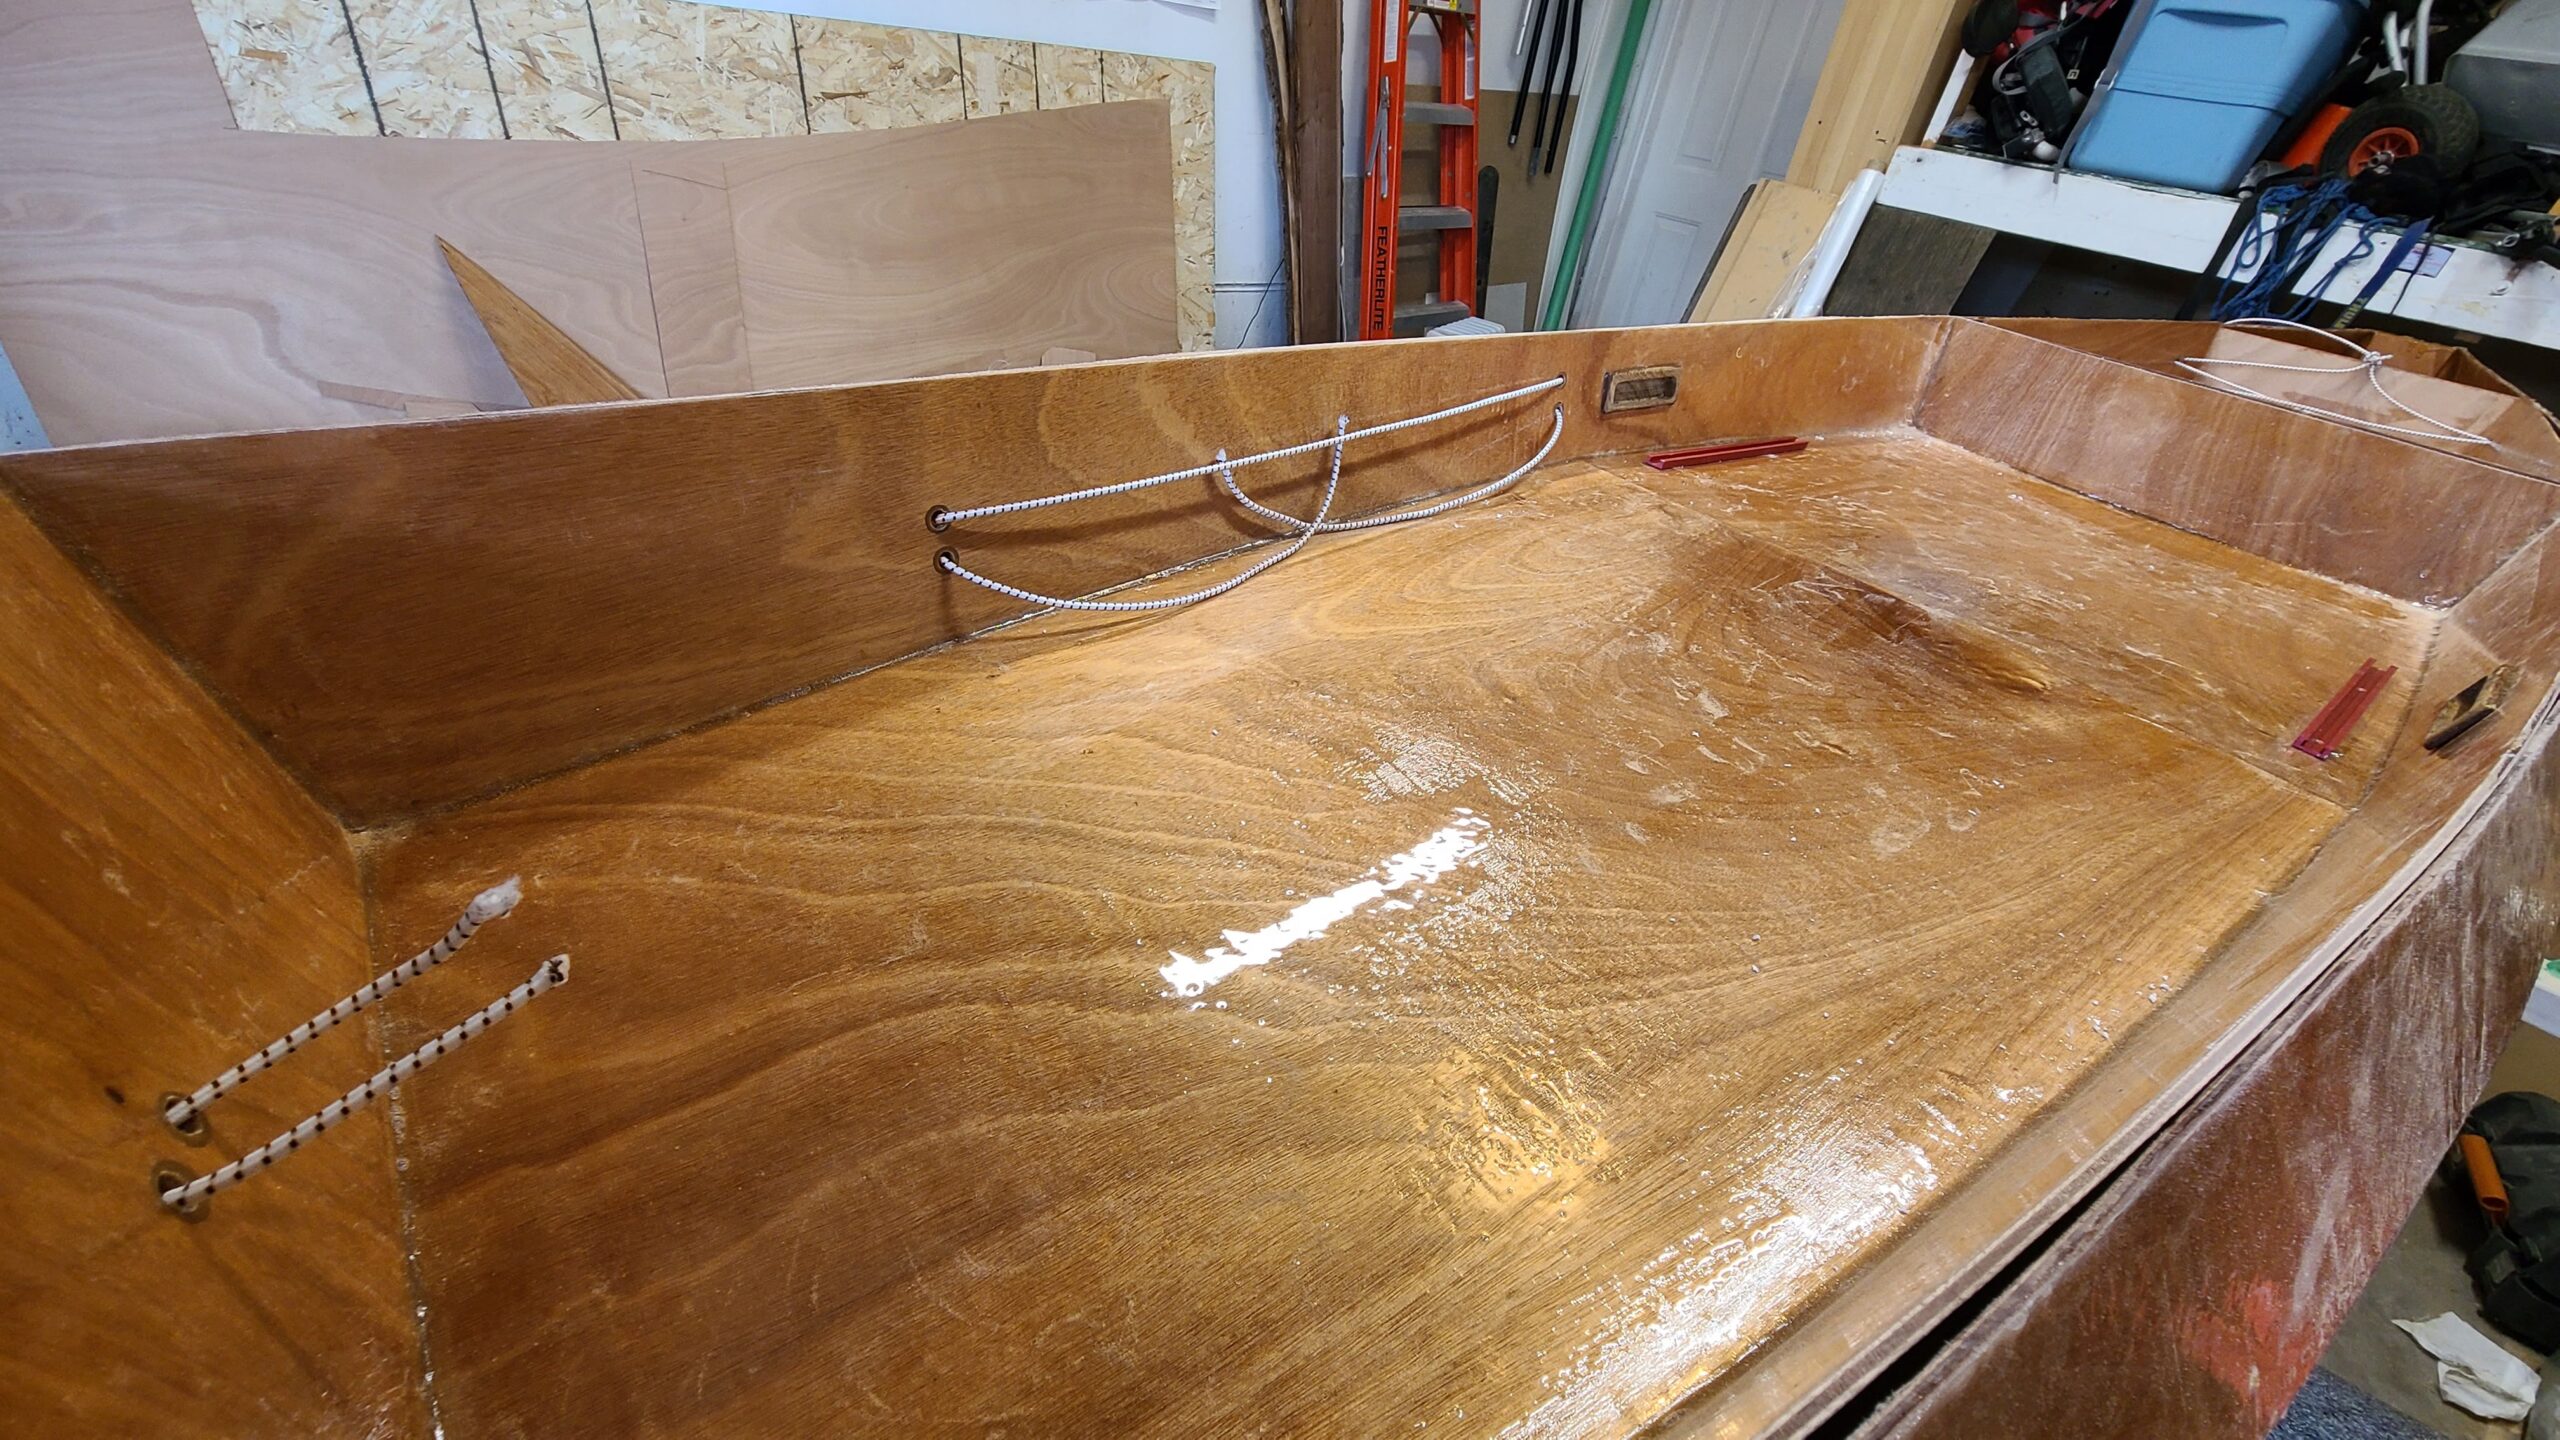
In the cockpit I went with a couple of fittings on the side and the front to hold misc items.
I also am quite far behind time wise and needed something for the handles in the middle of the kayak mostly to help with loading and unloading. I didn’t want to make wood handles as the first recessed wood handle I made took a week. We found these Teak Cabinet pulls at Noahs marine. They are a bit shallow so I wouldn’t use them for long distance hauling, but for some minor use and a light kayak they’re adequate. Best of all, no time spent making them.

Kayak Seat mounting
I also decided on a kayak seat mounting method. I cut up some T-slot track and mounted them. They will go outside the seat which will be mounted to a plywood plate with some adapters I’ll make to screw them to the T-slot. In this way it should be easy to adjust the seating position fore and aft. This will be especially important if we have an extra passenger in the front of the kayak.
They are bolted into the cockpit. There is an extra layer of plywood and fiberglass underneath each bolt to help support the track.
