Skip to content

Mikes Collection of Random Projects

Random Projects or things I'm interested in

  • Kayak Building
  • Photography
  • Latest Posts
  • Home
  • 2020
  • October
  • 10
  • Its Fiberglassing Time!

Its Fiberglassing Time!

Posted on October 10, 2020October 9, 2020 By Mike No Comments on Its Fiberglassing Time!
Informational, Kayak Building, Sabalo 12 MK1

First time fiberglassing. There seemed to be two methods. The CLC method of doing sections at a time and Nick Schade’s method of saturating the fiberglass everywhere and coming back to squeeze out the excess.

I had estimated this step would take a bit over an hour based in Nick Schade’s video.

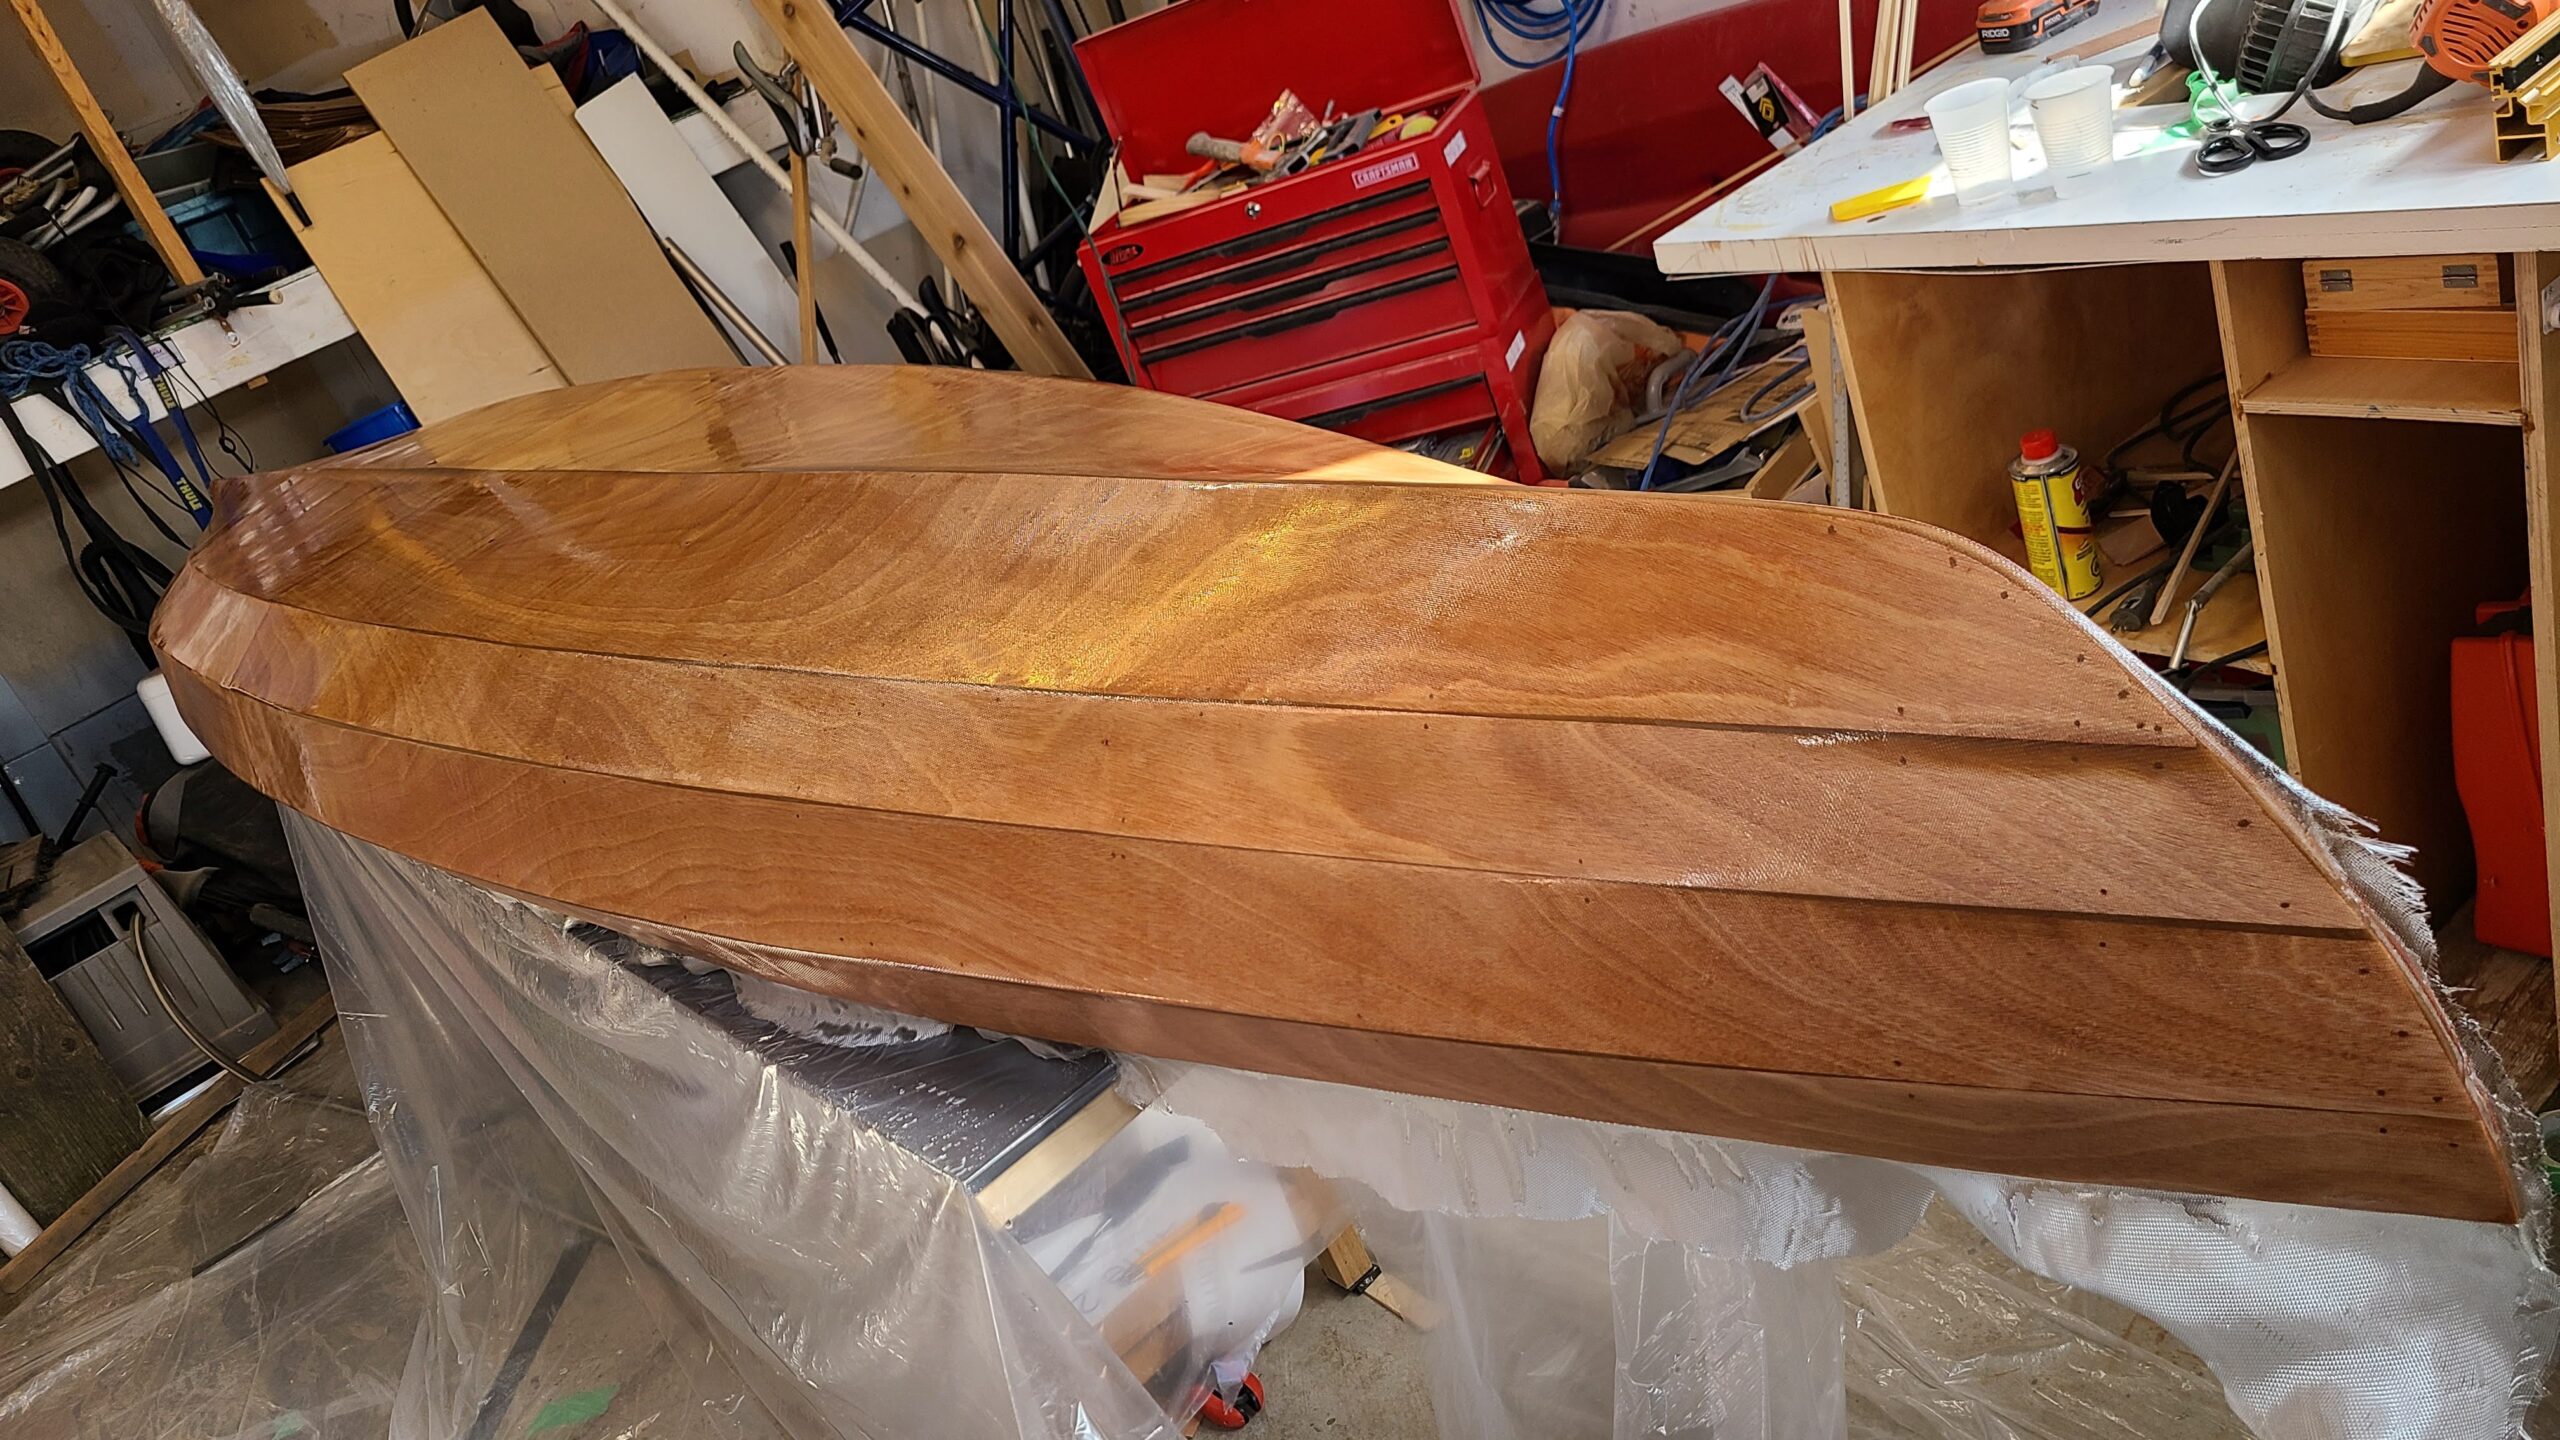
Well, the Sabalo is a lot harder to glass than whats in the videos. For example the Shearwater in the CLC video is a single chine kayak. Its very easy to squeegee out the epoxy. Similarly the Boot Legger in Nicks video are strip kayaks with a smooth hull. Both of these hulls pretty much end in a 90 degree.

You can barely see Panel A in this photo, see how it dissappears? Thats because its going back in towards the cockpit. That means all your epoxy wants to drip at the chine between panel A/B.

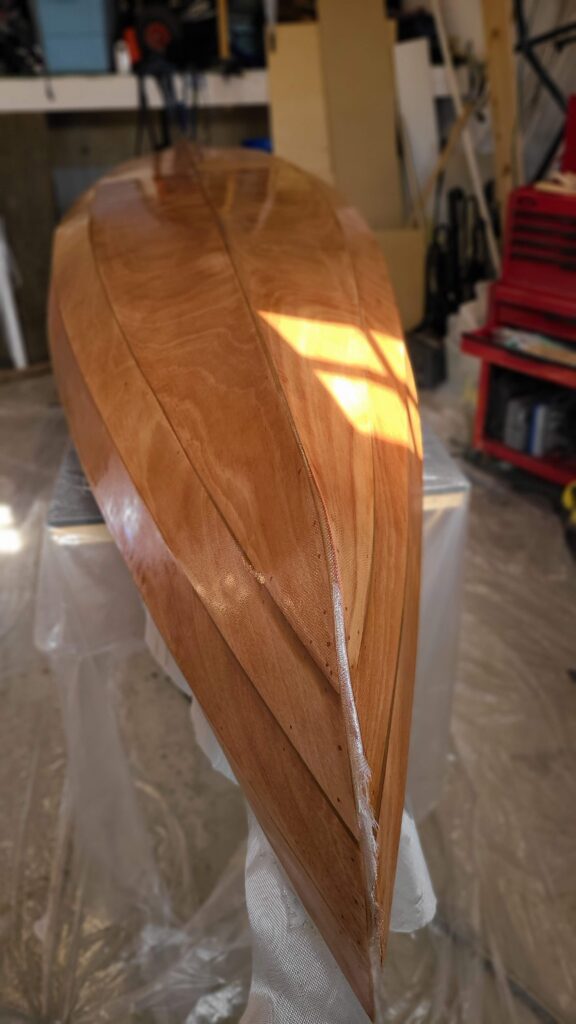
The Sabalo when upside down has an inverse incline. Meaning your going beyond 90 degrees. It means a lot of epoxy wants to drip off before getting to panel A. Panel A was a pain to Epoxy.

The Sabalo also is multi-chined. Every one of those chines is actually a bit difficult to drag your squeegee over and not leave a streak.

Got it all saturated. Looks amazing. Super excited

Another important tip. Support your kayak much farther away from the plastic sheets covering your table than I did. The fiberglass and epoxy wants to stick to the plastic sheets, and than if the sheets move it pulls the fiberglass away from the wood.

There’s a few spots along the edge of panel A where the fiberglass pulled off and didn’t bond well. I think that’ll be ok as there will be fiberglass tape when the deck parts are bonded on.

I also need to add a 6oz strip at the bow, and the stern was not done either.

Another note, the fiberglass role I had barely covered the width of the Sabalo. So turning it on a 45 degree did not seem possible. I’ll have to think about this one a bit. Maybe I was just too nervous to get it right.

The Raka epoxy was easy to put on and is really thin. 4 coats seems to be what it will need. I’m 3 in as of writing this and there’s just a few spots where a bit of weave is showing. The garage is really dusty despite my best efforts to clean it.

Also for the fill coats, the method of pouring, using a roller to spread and than tipping with a brush seemed to work best for me. Brushing on seemed to take forever and I was getting runs and having trouble brushing on the correct amount of epoxy, and again that Panel A was really hard to reach.

Tags: diy kayak Fiberglass jem watercraft raka epoxy sabalo 12 sit on top kayak build

Post navigation

❮ Previous Post: Let the sanding begin
Next Post: Interior Fiberglass and frames ❯

Leave a Reply Cancel reply

Your email address will not be published. Required fields are marked *

This site uses Akismet to reduce spam. Learn how your comment data is processed.

Recent Posts

  • Woodbie in Action
  • Completed Kayak – Naming her the Woodbie
  • Painting the Kayak
  • Finishing touches on the Guardian
  • Cockpit and storage areas

Tags

boat building boat design boat model brock string build diy kayak eye therapy fishing kayak Garage gtvt gtvt large jem watercraft kayak Kayak build Kayak handle learning michael storer mistake mlt mlt patched paper mock paper mockup plywood boat Prep work prototype Recessed handle sabalo sabalo 12 Scarfing plywood Scarf jig small wood boat Solid cedar sot kayak build stitch and glue Stitch and glue kayak storer boat plans taal taalak test design week 1 wood Wood carving wood kayak woodworking Workshop

Categories

  • Eye Therapy
  • Informational
  • Kayak Building
  • Photography
  • Sabalo 12 MK1
  • Taalak

Archives

  • September 2022
  • August 2022
  • July 2022
  • February 2022
  • January 2022
  • October 2021
  • June 2021
  • January 2021
  • November 2020
  • October 2020
  • September 2020
  • August 2020
  • July 2020

Archives

  • September 2022 (2)
  • August 2022 (3)
  • July 2022 (1)
  • February 2022 (2)
  • January 2022 (2)
  • October 2021 (5)
  • June 2021 (1)
  • January 2021 (1)
  • November 2020 (2)
  • October 2020 (4)
  • September 2020 (4)
  • August 2020 (4)
  • July 2020 (5)

Meta

  • Log in
  • Entries feed
  • Comments feed
  • WordPress.org

Categories

Eye Therapy (5) Informational (1) Kayak Building (27) Photography (1) Sabalo 12 MK1 (17) Taalak (13)

Tags

boat building (1) boat design (2) boat model (1) brock string (5) build (1) diy kayak (2) eye therapy (5) fishing kayak (1) Garage (1) gtvt (5) gtvt large (5) jem watercraft (2) kayak (2) Kayak build (3) Kayak handle (1) learning (1) michael storer (1) mistake (1) mlt (5) mlt patched (5) paper mock (1) paper mockup (2) plywood boat (1) Prep work (1) prototype (1) Recessed handle (2) sabalo (1) sabalo 12 (2) Scarfing plywood (2) Scarf jig (1) small wood boat (1) Solid cedar (1) sot kayak build (1) stitch and glue (4) Stitch and glue kayak (2) storer boat plans (1) taal (1) taalak (3) test design (1) week 1 (5) wood (1) Wood carving (1) wood kayak (5) woodworking (1) Workshop (1)

Copyright © 2023 Mikes Collection of Random Projects.

Theme: Oceanly by ScriptsTown